# Settings
The Call Flow page presents information about your Business Phone System Settings:
Music on Hold management.
Address Book management.
Phone Button templates.
To edit the Settings click on the Settings Icon
 . This will take you to the General
Settings page.
. This will take you to the General
Settings page.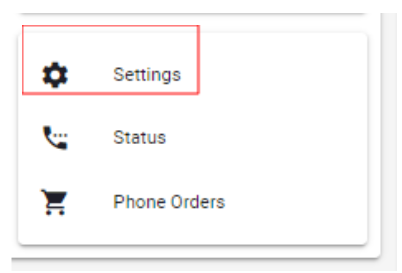
# General Settings
The General Settings for your Business Phone System are defined during the account set up. These settings are customisable.
Drop-downs:
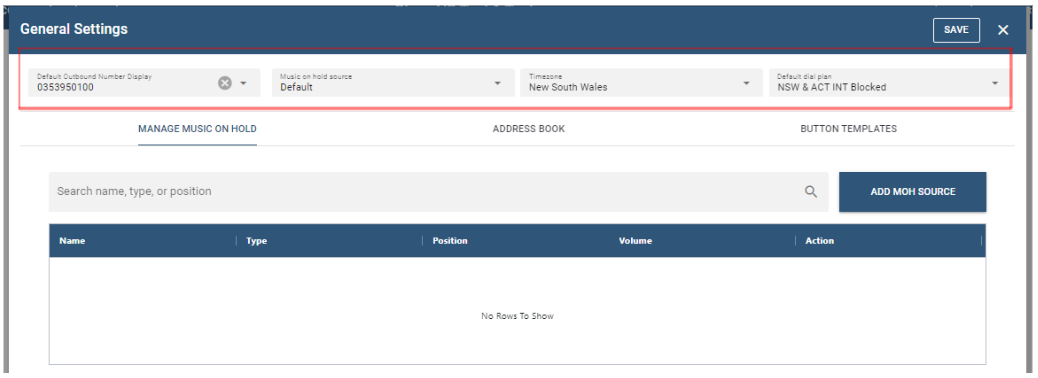
Default Outbound Number display: Drop-down box: the default number that will be displayed when outbound calls are made from your Business Phone System. The drop-down box lists the numbers on the Business Phone System that can be selected as the default. The Outbound Number Display can also be updated at an Extension level. II you would like an alternate number to display as your Default Outbound Number Display contact your service provider and request the number be added. You will also need to provide your service provider with proof of ownership of that number i.e. copy of that number on a bill if it is supplied by another service provider. Once your service provider has added the number it will appear in the drop-down box.
Music on Hold Source: Drop-down box: the default Music on Hold audio that will be heard on your Business Phone System.
Timezone : Drop-down box : the default Time Zone that will be assigned to Extensions on your Business Phone System. The Time Zone determines time stamps on Extension features such as the mailbox, call logs and handset display. The Time Zone can be updated at an Extension level.
Dial plan: Drop-down box: the default Dial Plan that will be assigned to Extensions when making outbound calls. Each State has a prefix: NSW (02) ; Vic and Tas (03) ; Qld (07) ; SA, WA and NT (08). When making an outbound call if you don't dial 10 digits (which include the state prefix) then the dial plan will determine which prefix is added i.e. if you are on the NSW dial plan and you only dial 8 digits the call will get the NSW prefix (02) prefixed to the dialed number. It is recommended that you use the Dial Plan that corresponds to the geographical location of the Extension end user.
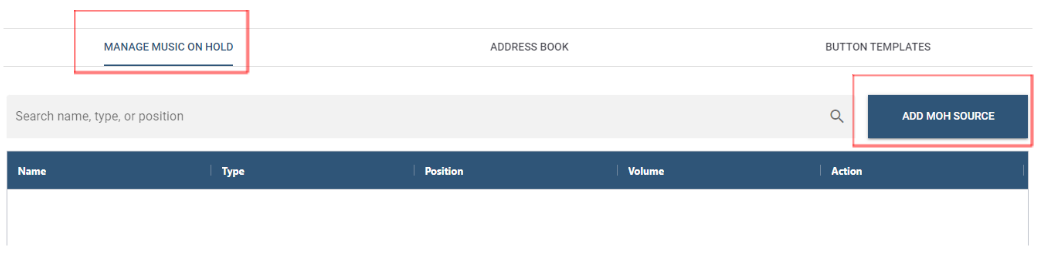
# Manage Music on Hold
ADD MOH SOURCE: Allows you to add customised MOH (Music on Hold) that can then be selected as your Business Phone System default.
- Click on the ADD MOH SOURCE button.
- This will take you to the Create MOH Source page.

Name: Enter the Name of your Music On Hold in the Name field. Use a meaningful name to assist in easily identifying your Music on Hold.
Type: Drop-Down box for the source of your Music on Hold : File ; RTP Stream or Wav input.
Volume: Drop-Down box for volume control.
Position : Drop-Down box for the management of Music on Hold at a call level : All calls share the same position -- whenever a call is placed on hold the current Music On Hold will be played meaning all call on hold will have the same Music On Hold ; Always from the beginning -- whenever a call is placed on hold the Music on Hold will play from the beginning ; Remember last position -- whenever a call is placed on hold the Music on Hold will resume from where it last stopped.
Filename: Upload your MOH file here.
Click on the CREATE button.
To verify the new Music on Hold has been added go to Music on Hold source, check that the new Music on Hold appears in the drop-down list.
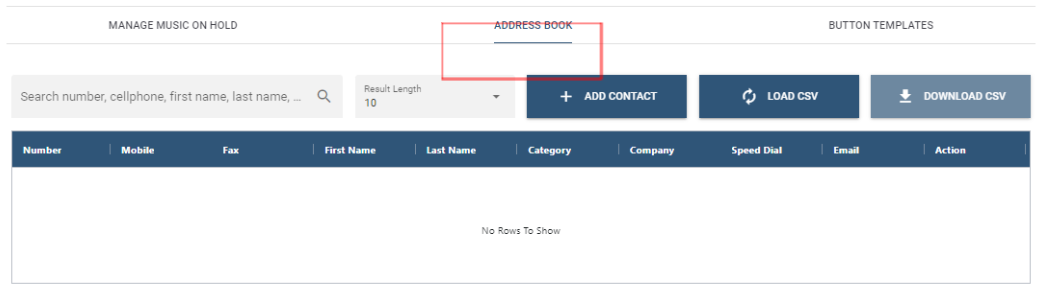
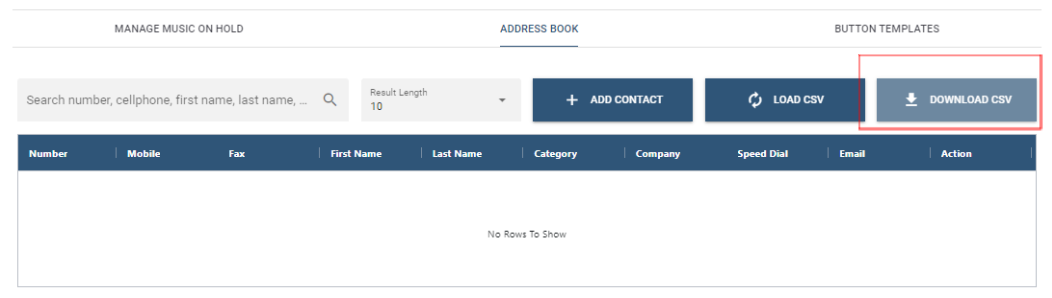
# Address Book
Address Book allows you to build a customised contact list that can be used by all end users on your Business Phone System. The individual contacts can then be uploaded onto the end user's phone.
Contacts can be added to the Address Book individually or in bulk by downloading a CSV file.
Click on the ADDRESS BOOK button.
Load contacts individually.
Click on + ADD CONTACT to load contacts individually.
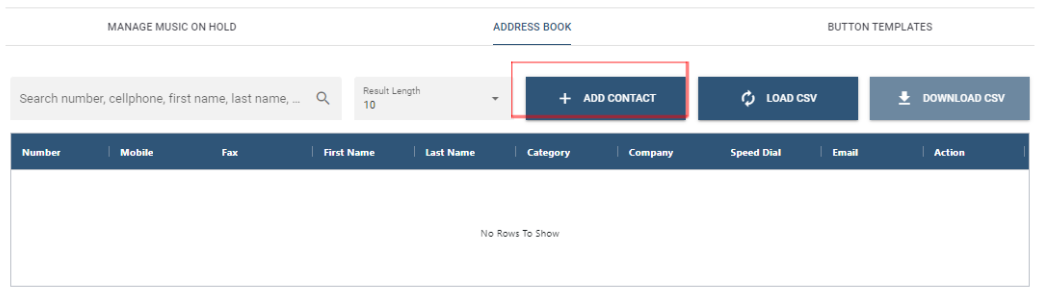
- This will take you to the Create New Contact page.
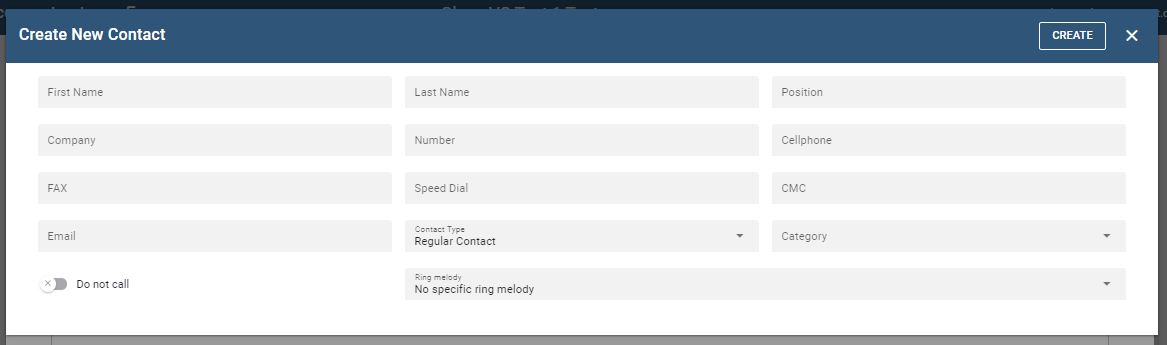
Complete the Contact details:
First name ; Last Name ; Position ; Company ; Phone Number ; Mobile Number ; Fax number : Email.
Speed Dial: allows you to assign a 2 digit number to the contact for speed dialing.
CMC: A name or meaningful reference (maybe a department name). The CMC will appear in the Call Detail Records which may assist with Call Tracking or Billing.
Contact Type: Regular Contact ; White List (allows calls to and from this contact) ; Black List (prevents calls to and from this contact)
Category: allows you to group contacts (departmental etc) which will assist with contact searches etc.
Do not call button
 disabled allows calls to this
contact.
disabled allows calls to this
contact.Do not call button
 enabled prevents calls to this
contact,
enabled prevents calls to this
contact,Ring Melody: allows you to customize the ring tone when the contact calls to assist with easily identifying the caller.
Click the Create button.
# Load contacts in bulk.
Click on Load CSV file to load contacts in bulk.
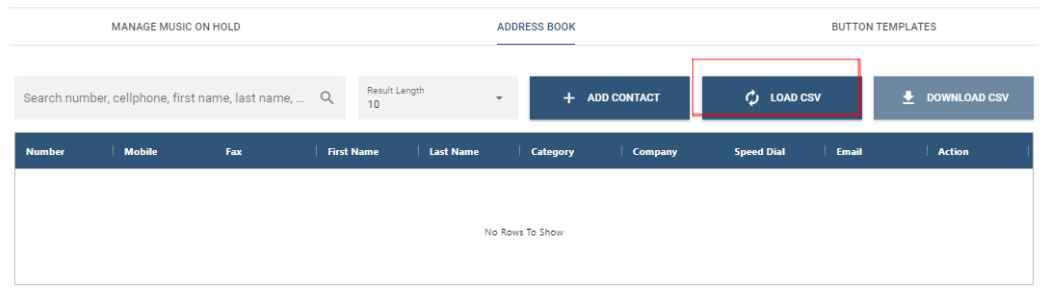
This will take you to the Load CSV file page.

Contacts can be added in bulk by inserting the contact records in the Content window in the following format: First name;Last name;Main number;Mobile;Speed dial;Client matter code (CMC);Fax;Position;Company Name;Email
Or
By selecting a CSV file you have created with the contact records in the following format: First name;Last name;Main number;Mobile;Speed dial;Client matter code (CMC);Fax;Position;Company Name;Email
Click the Create button.
# Download your address book.
Click on the Download CSV button to download your address book in a CSV file.
# Button Templates
CREATE NEW TEMPLATE: Allows you to create button templates for the phones on your Business Phone System default.
Click on the CREATE NEW TEMPLATE button.

This will take you to the Create Button Template page.

Display Name: the Button Template name. Use a meaningful name to assist in easily identifying your Button Templates.
Click the Create button.

Click on the
 icon to edit the Button Template or
Click on the
 icon to delete the Button Template.
# Editing the Button Template
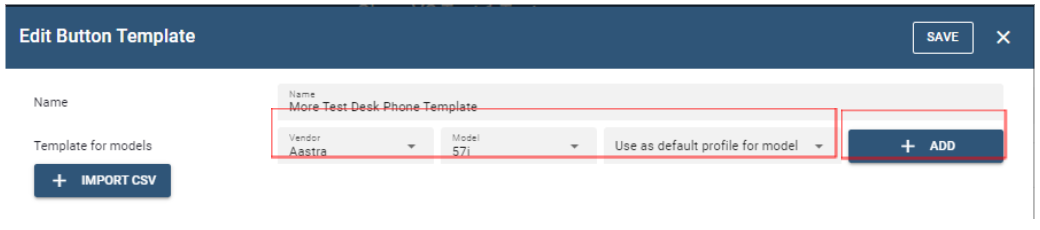
Vendor: Select the Phone vendor from the drop-down menu.
Model: Select the Phone model from the drop-down menu.
Use as default profile for the model: Select from whether this will be the default button template for the nominated phone model on you Business Phone System. If you intend to have a number of button templates for the phone model one will be the default and the remainder need to be selected as Don't Use as Default.
Click the
 button.
You will be presented with the Button Line Key configuration.

Line Key 1 -- Line Key 15
The "Number" column details the Line Key buttons on the phone.
Leave the "Identity" column as default or assign the corresponding number i.e. 1 for Line Key 1 etc
"Type" is a drop-down list of the options you have for this Line Key eg :
You may configure a Line Key on the phone itself.
You may configure a Line Key with one of the Business Phone System Call Flow features such as Call Queue -- once you select Call queue you will be presented with a drop-down window in the Parameter column -- that window will present the active Call Queue accounts. Once you select the account that will be presented in the label column.
You may configure a Line Key with a Private Line -- once you select Private Line you will need to update the Label Column with the phone number of that Private Line.
After you have updated your Line Keys Click the Save button on the top right of the window
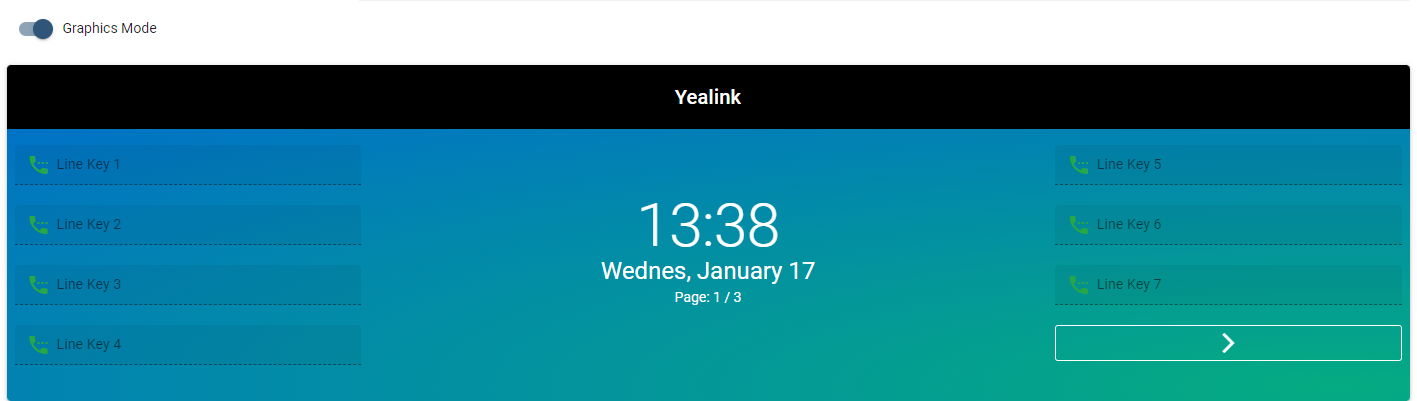
There are 2 Line Key configuration displays: Graphic (if enabled) or table (if Graphic disabled)
Disabled

Enabled

Following is the Graphics Mode Display.
Or Click the
 button.
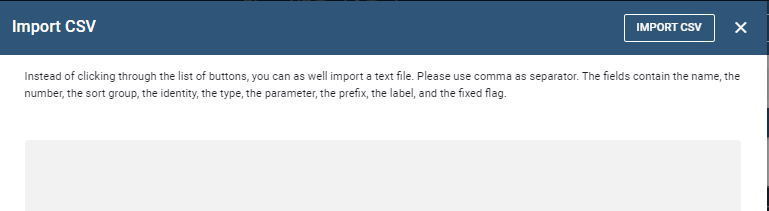
This will take you to the Import CSV page.
Upload a text file with your Button template.
Click the IMPORT CSV file button.